IL License Number: 104.017181

The Best Time of Year to Replace Siding (and When Not To)

Replacing siding is one of those projects that quietly influences everything else: curb appeal, comfort, energy bills, and how well your home handles the next storm. The tricky part is timing: should you wait for the “perfect” season, or act now because small problems are about to become expensive ones? And what if a repaint or a simple repair would do the job?

Below is a clear, conversational guide that walks you through seasons, situations, and smart
exceptions so you can make the right call with confidence.

Siding Tech Installing Siding

What is the "Right Season" to Replace Siding in Chicago's Northwest Suburbs?

Short answer: spring through fall is best, but each season has trade-offs. Experienced contractors can deliver year-round with the right planning.

Here in the Chicago Northwest Suburbs, weather creates a roughly 7-month window (mid-April through mid-November) when conditions work well for all siding materials. Outside that window, it depends on what you’re installing.

Spring (April–May): Often Ideal

  • Mild temps (average 50–60°F) make installs smooth and adhesives cure properly.
  • Post-winter inspection reveals damage you couldn’t see under snow.
  • You’re buttoned up before summer storms arrive.
  • The catch: Spring is our wettest season (April averages 3.75″ of rain), so expect occasional weather delays.

For more on spring home maintenance, visit our 10-point Spring Checklist.

Summer (June–August)

  • Longer daylight = faster production.
  • Watch for heat: vinyl expands significantly above 90°F, so experienced pros plan cuts and gaps accordingly.
  • The catch: Peak contractor demand means longer wait times (4–8 weeks to get on the schedule) and less pricing flexibility.

Fall (September–October): Contractor Favorite

  • Stable temps (averaging 54–66°F) and lower humidity = crisp, predictable work.
  • Your home’s protected before freeze/thaw cycles and heavy snow.
  • Better scheduling availability than summer, often with more competitive pricing.
  • Chicago’s normal first frost hits around October 19, so aim to wrap up before then for the smoothest experience.

Winter (November–March): Possible with Planning

  • A slower season can mean better scheduling and 10–20% cost savings.
  • Requires safe weather windows and cold-rated products/techniques.
  • Caulks/paints may have temperature limitations: experienced contractors can manage around this.

To summarize, the best time to replace siding in the Chicago area is September through October, with April through May as a strong second choice. But timing isn’t just about the calendar: it’s about your siding’s condition, your budget, and whether a repair or repaint might be the smarter move first.

Materials Matter

When it comes to replacing off-season, take a close look at product recommendations to determine the best fit for your home. We’ve summarized some key recommendations below:

Vinyl Siding

What the manufacturer says:

Manufacturers like Mastic/Ply Gem don’t prohibit cold-weather installation. They provide specific guidance: “When installing in temperatures below 40°F, increase minimum clearance to 3/8 inch.” They assume that winter installations happen and provide instructions on how to adjust.

Our recommendation:

While technically allowed, vinyl becomes more brittle in cold temps, increasing the risk of cracking during cutting and fastening. Chicago’s January averages around 25°F, well into the zone where problems are more likely. From our experience, we recommend scheduling vinyl projects for warmer months.

LP SmartSide (engineered wood)

What the manufacturer says:

LP positions SmartSide as a great choice for cold climates. Their FAQ states directly: “LP SmartSide products are resistant to freeze thaw damage.” Standard installation uses mechanical fasteners (nails), not adhesives. However, if construction adhesive is used for certain trim/fascia details, it requires a minimum application temperature of 40°F.

Our recommendation:

SmartSide handles winter well. The main considerations are keeping material dry and, if adhesives are part of the detail work, scheduling those tasks during warmer windows above 40°F.

James Hardie (fiber cement)

What the manufacturer says:

James Hardie’s HZ5® products are specifically engineered for climates with freezing temperatures and freeze-thaw cycles. Hardie doesn’t publish a specific minimum installation temperature. Instead, they require that material stays dry, proper expansion gaps are maintained, and any caulks or paints are applied within their manufacturer’s temperature range.

Our recommendation:

Winter installation is possible with an experienced crew that knows how to keep material dry, allow for acclimation, and use cold-rated sealants. Many contractors work comfortably in the 30–40°F range for fiber cement. Below that, it takes extra care—but it’s doable.

Bottom line: Whether or not a winter siding installation will work is more nuanced than a simple yes/no. The material matters, the crew’s experience matters, and honest planning matters. If you’re considering a winter project, we’ll walk you through what’s realistic for your situation.

Front of Home Before Siding Replacement Front of Home After Siding Replacement
Before Siding Replacement After Siding Replacement

When the Calendar Doesn't Matter: Replace It Now

Sometimes waiting for “perfect timing” costs more than acting immediately. Moisture doesn’t wait for spring: it migrates, rot spreads, and small gaps turn into hidden damage that reaches insulation, framing, and interior finishes. What could be a clean, planned replacement becomes an emergency tear-off with sheathing repair and mold remediation.

Act NOW if you're seeing:

  • Widespread moisture intrusion
    Soft or spongy spots along your walls and/or windows, musty odors along exterior walls, buckling panels, or swollen walls and / or trim indicate water is getting past the cladding. Once moisture is inside the wall, it degrades wood, rusts fasteners, and lowers insulation performance. Replacement lets you reset the water-management system so the wall can both resist and dry after storms.
  • Rot, rust or mold on wood components
    Decay and/or streaking at soffits, window casings, band boards, or sheathing indicates prolonged wetting. Spot repairs only hide symptoms when the source is detailing, not the wood itself. A full replacement addresses the cause, whether it’s bad flashings, missing kick-outs or clogged ventilation. It’s always advisable to stop the spread before framing or interior drywall are involved.
  • Persistent interior leaks or peeling paint on exterior walls
    If paint inside keeps failing or you notice stains near outside walls, assume a flashing or water barrier breakdown. Water may be entering at window heads or roof-to-wall intersections and wicking through the assembly. Replacement gives you access to install pan/head flashing, integrate tapes correctly, and protect vulnerable transitions.
  • Severe hail or wind damage over large areas
    Dents in aluminum, cracked vinyl across multiple elevations, or loosened laps signal
    system-wide stress. A complete replacement yields consistent color and aesthetics, manufacturer warranties, and modern details throughout.
  • Insect damage or woodpecker tunneling
    Carpenter ants, termites, and even woodpeckers target damp, softened wood. If you’re
    seeing galleries, frass, or repeated peck holes, the wall is likely wet and attractive to
    pests. Replacement allows you to remove compromised material, treat as needed, and
    rebuild with species, details, and barriers that shed water properly.
  • Energy and comfort issues tied to walls
    Drafts, cold interior surfaces, and seasonal bill spikes often trace to leaky assemblies
    with little insulation. Replacement is the moment to add continuous exterior insulation,
    include a rainscreen for drying, and tighten penetrations. The result is a quieter, more
    comfortable home with lower loads on your HVAC.
  • Asbestos or lead hazards uncovered
    If testing identifies asbestos-containing siding or lead paint during prep, you’ll need
    regulated handling. Integrating abatement with a planned replacement is typically safer
    and more cost-effective than stop-start repairs. You exit with a clean substrate, proper
    WRB, and a documented chain of custody for disposal.

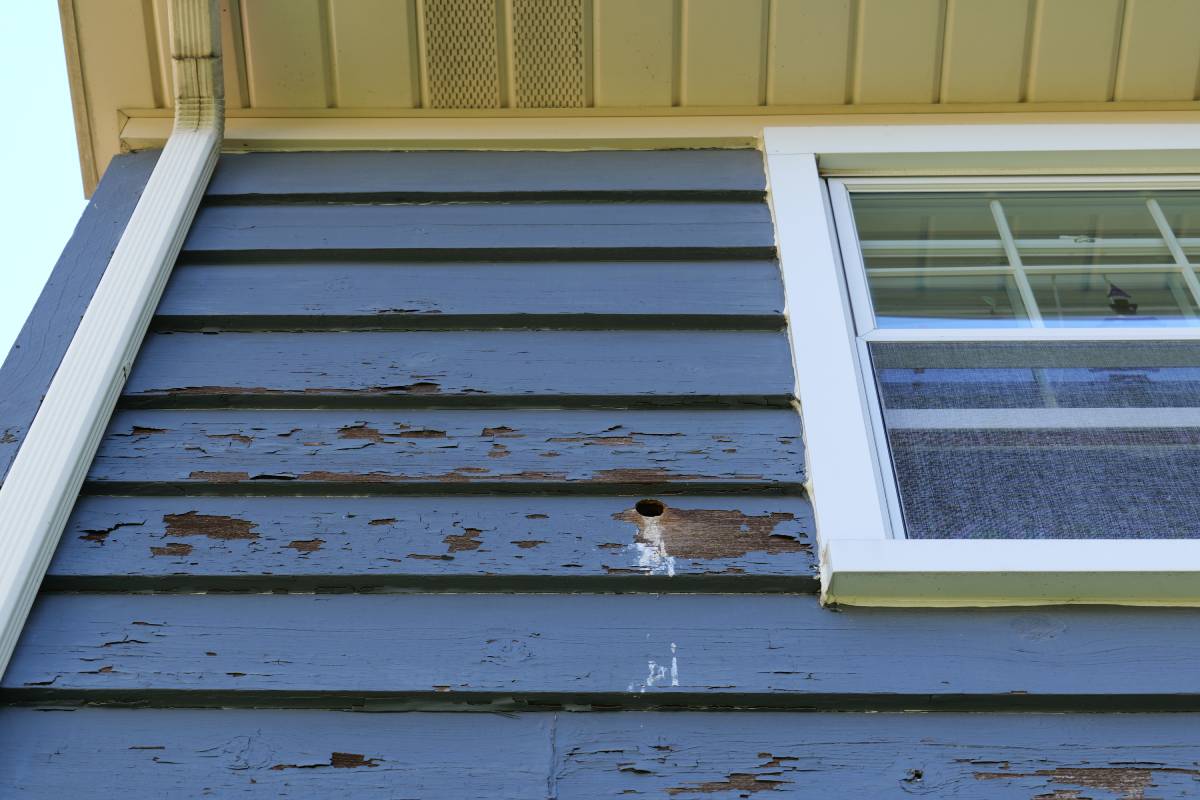
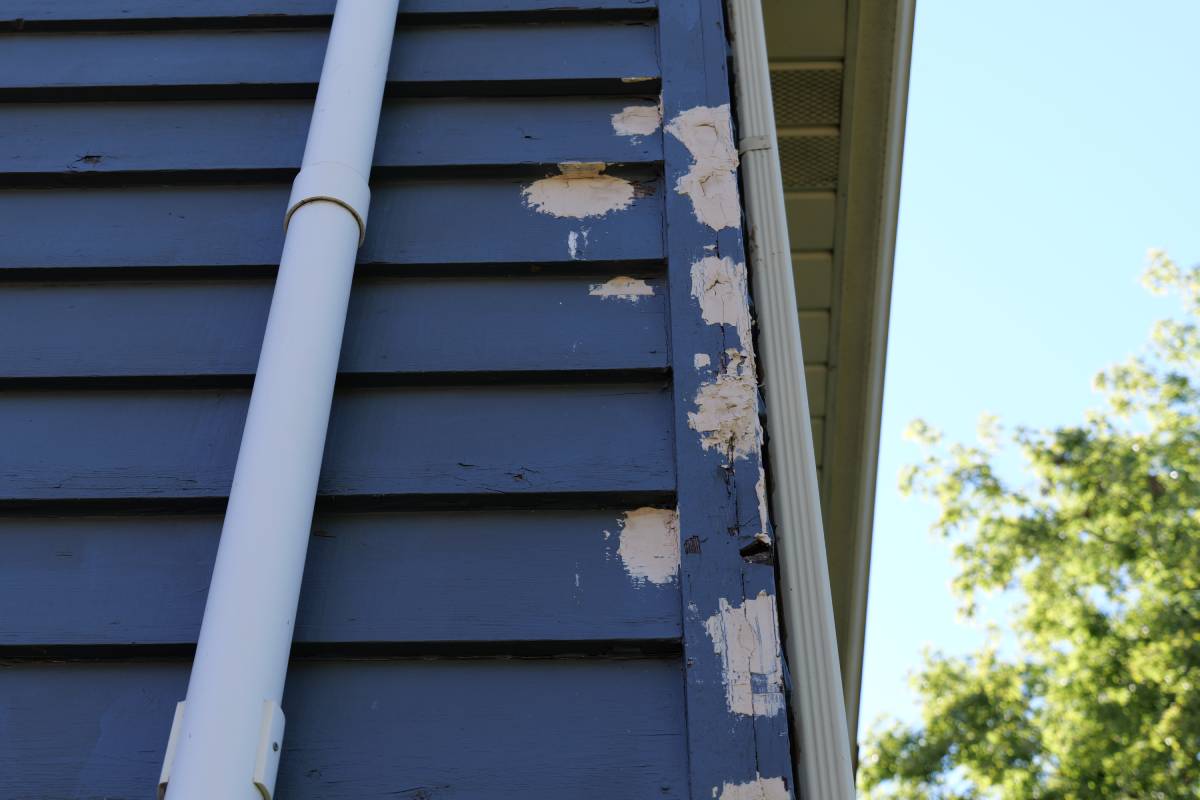
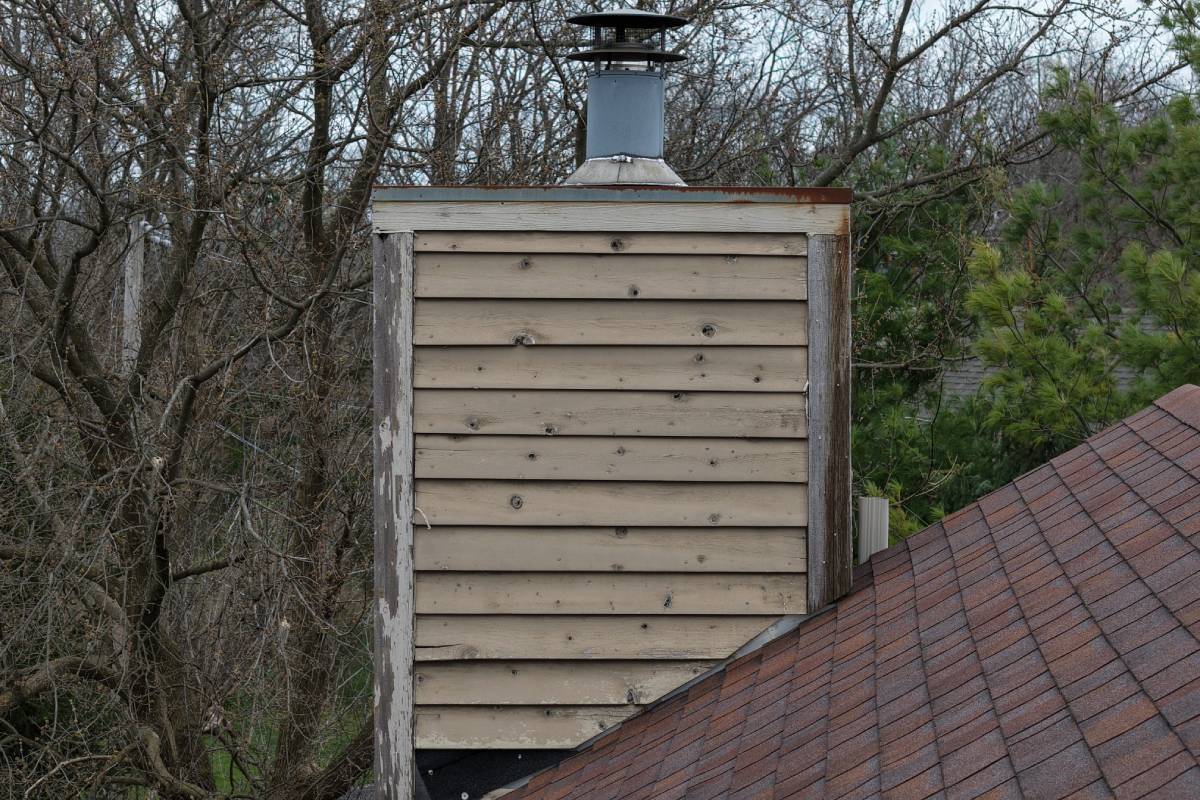
Rule of thumb: If more than 25–30% of the exterior needs work, or problems originate behind the siding (failed flashing, rotten sheathing), full replacement is the smarter fix. It solves the cause, not just the symptoms.

For a deeper understanding of wall assemblies, see our guide on What is Under Your Siding. If you’re ready to learn what the replacement process involves, visit our Siding Replacement Tips for Homeowners.

Sometimes a Repair or Repainting Is the Smarter Move

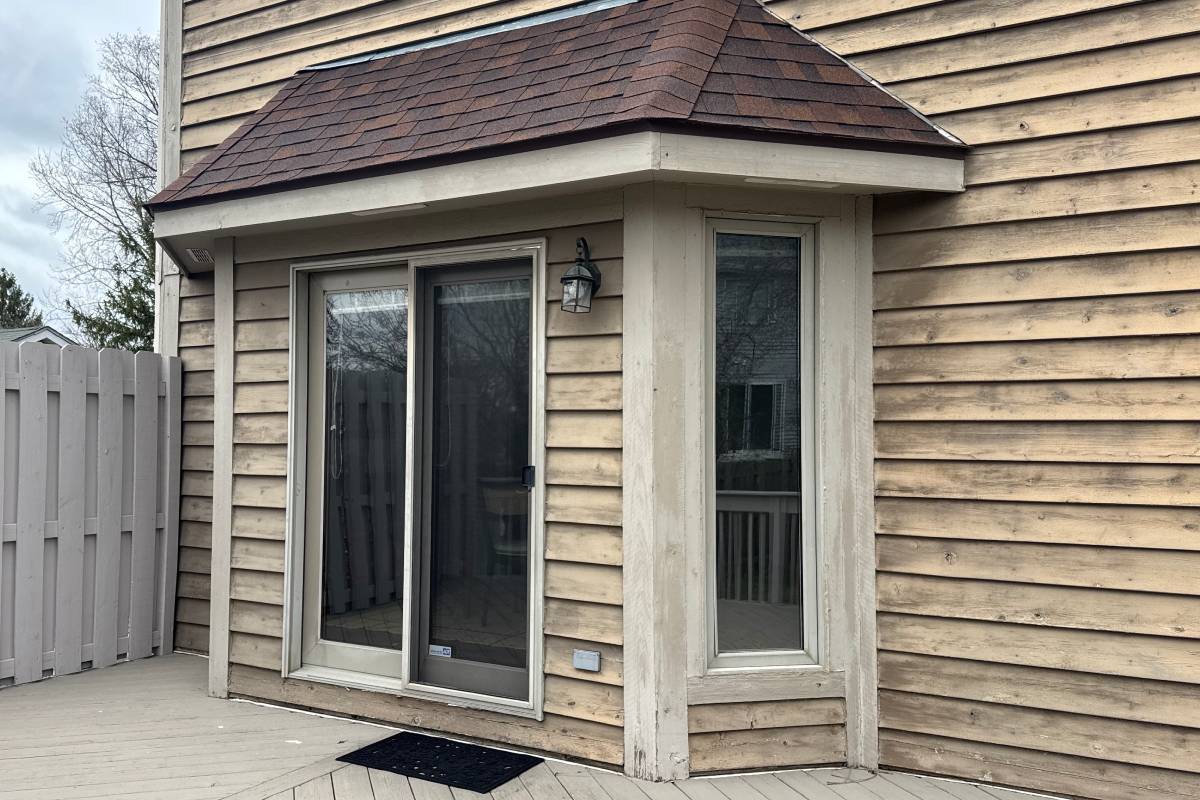
Not every siding problem requires full replacement. Timing your project right also means knowing when not to replace:

Consider repair when:

  • Damage is localized (one wall, a few storm-cracked panels, a single rotted corner)
  • You have matching material readily available
  • Budget calls for a stop-gap while you plan a larger renovation in 1–3 years

Consider repainting when:

  • The siding is structurally sound—no rot, no moisture issues
  • You want a color change but not a style change
  • The substrate (fiber cement, wood, aluminum, even vinyl) can accept paint properly
Both options buy time when done honestly. But if you’ve repainted twice and it keeps failing, or repairs are spreading across the house, that’s the signal to plan replacement.

Great Candidates For a Fresh Finish

Fiber-cement (e.g., Hardie)

Fiber cement siding is built to take paint. After a light wash and scuff where needed, premium 100% acrylic exterior paint lays down smooth and holds color well. It’s also forgiving for color changes, (dark to light, or vice versa), because boards are dimensionally stable, and joints stay crisp. Do the prep right and refresh the caulk, you’ll get a long lasting paint job.

Wood siding (cedar, pine) - including staining cedar

Wood can look phenomenal with the right prep. Make sure you address any rot, set and seal fasteners, prime bare spots, and back-prime replacement pieces. For cedar, you can either paint or stain.

Aluminum siding

Aluminum is an underrated repaint hero. After degreasing and a careful scuff, a bonding primer plus quality topcoat can make aluminum look factory-new. It won’t rot, so your main goal is adhesion and uniform sheen. Great option when hail left light cosmetic scuffs but panels are intact.

Vinyl siding

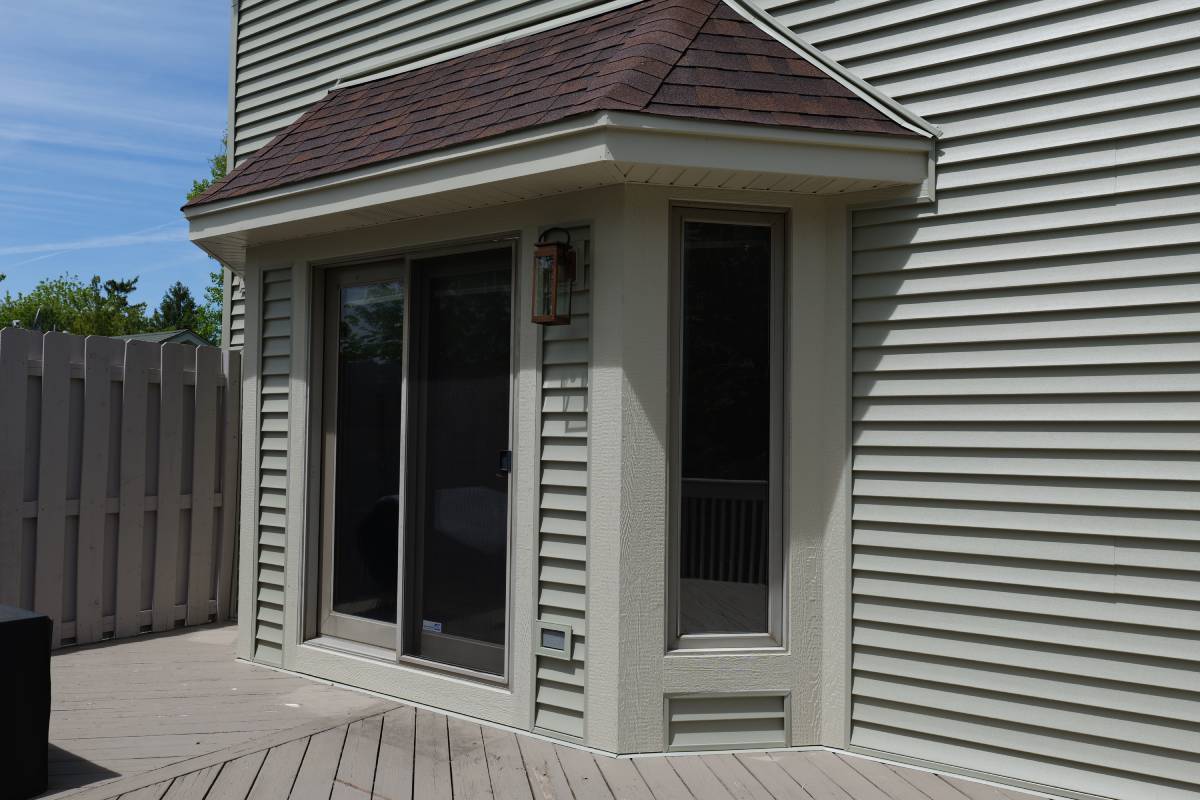
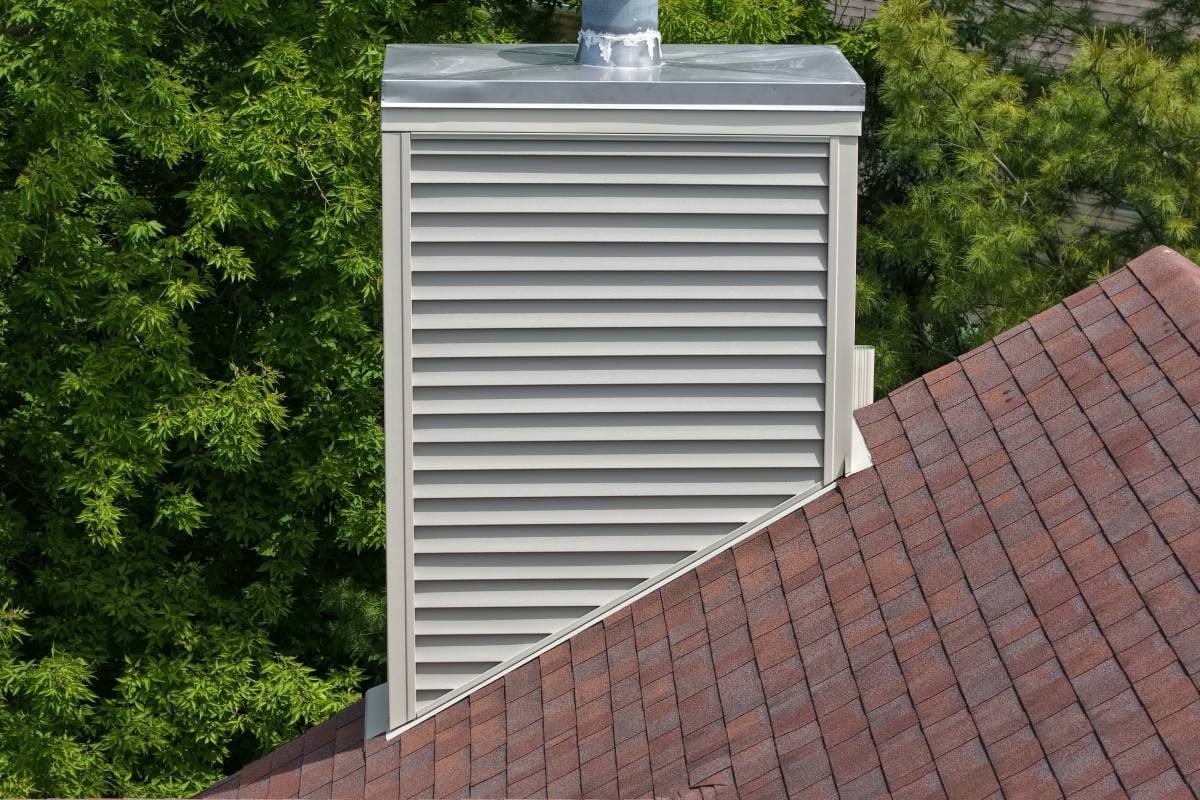
Yes, even vinyl siding can be painted! Just use vinyl-safe coatings and colors formulated to minimize heat build (some manufacturers publish approved color ranges).  Clean thoroughly, repair cracks, and avoid ultra-dark hues unless they’re specifically rated as vinyl-safe. If the goal is simply a color refresh and the panels are structurally sound, this is a budget-wise upgrade.

For detailed guidance, see our articles on Siding Repair and Siding Material Options.

Before Bay Window Siding Replacement After Bay Window Siding Replacement
Before Chimney Siding Replacement After Chimney Siding Replacement

When to Hit Pause (Don't Replace Yet)

There are smart reasons to wait—as long as you’re monitoring and not ignoring active leaks:
  • You want a fresh color and the siding is sound → Paint first. It’s budget-friendly and fast.
  • Short-term budget constraints, no active leaks → Do targeted repairs now and plan a phased upgrade.
  • Historic details to preserve → Consider restoration plus repaint with breathable coatings.
  • HOA/permit timing not ready → Finalize approvals and specs to avoid backtracking. (Pro tip: Permit processing is often faster in fall and winter when fewer homeowners are submitting.)
  • It’s deep winter and you’re planning a vinyl project → Consider waiting for warmer weather. While manufacturers allow cold-weather installation, vinyl projects go smoother when temps are consistently above 40°F.

Waiting should be intentional. Regularly check for damage inside and out—small changes are early warnings.

Budget & Scope: A Quick Decision Framework

When you need clarity fast:

1) Is the issue cosmetic or structural?

  • Cosmetic → consider repaint or small repair
  • Structural/moisture → investigate deeper; replacement is likely

2) How much of the home is affected?

  • Under ~20% → repair can make sense
  • 25–30% or more → replacement is typically more cost-effective

3) Are you planning other exterior upgrades (windows, insulation)?

  • Yes → coordinate everything in one replacement scope for better detailing

4) What's the season?

  • September–October = ideal
  • April–May = excellent
  • Summer = works, but longer wait times
  • Winter = possible with the right material and contractor

Costs and What to Expect

Siding replacement is a significant investment, and we believe in transparent pricing. For a medium-sized Chicago home (2,000–2,500 sq.ft.), expect:
  • Vinyl: $8,000–$30,000
  • LP SmartSide: $14,000–$30,000
  • James Hardie: $12,000–$37,500

The range depends on complexity, what’s underneath, and any upgrades you choose.

For complete pricing on all materials including Return-on-Investment (ROI) data, warranty details, and what affects your final cost, visit our Siding Pricing Guide.

The At-A-Glance Takeaway

  • Replace now when moisture, rot, or system-level failures are present—or when damage exceeds 25–30% of the exterior.
  • Repair for small, localized issues you can match cleanly.
  • Repaint when the structure is sound and color is the goal.
  • Best timing: September–October is ideal; April–May is excellent; summer works but means longer waits; winter is possible with fiber cement or LP SmartSide and an experienced crew—vinyl is trickier.
  • When to pause: Budget constraints (with no active leaks), permit delays, or if paint will genuinely solve the problem.

Wrapping Up

If you’re seeing red flags, or you’re debating paint vs. repair vs. replacement, snap a few close-ups (corners, window heads, roof-to-wall areas) and wide shots of each elevation. Send them to us with a brief note about any drafts, odors, or recent leaks, and we’ll give you a preliminary recommendation with options, cost ranges, and timelines.

If we need more detail, a siding inspection helps you move forward confidently without over- or under-scoping your project.

With over twenty years serving Chicago’s Northwest Suburbs and 200+ five-star Google reviews, we’re happy to help.

Contact us today!

Contact us today to discuss your next project. We’ll be happy to help.

Related Posts